Skip to main content
Skip to footer
Accessibility Commitment


The Step-by-Step PC Card Install Experience
When a customer brings in their desktop for our card installation service, they're usually looking for improvement in one of a few key areas. Some customers want a visual boost via a new graphic card. Others might want a modem if their home or office uses dial-up services. Ethernet cards are another option. Here's a quick look at how we handle your gear.


- New cards arrive in bubble wrap and anti-static packaging to protect their fragile silicon boards and various computing components. While graphics cards, Ethernet cards and modems serve different purposes, they typically have a form factor similar to what you see here.<br><div></div>
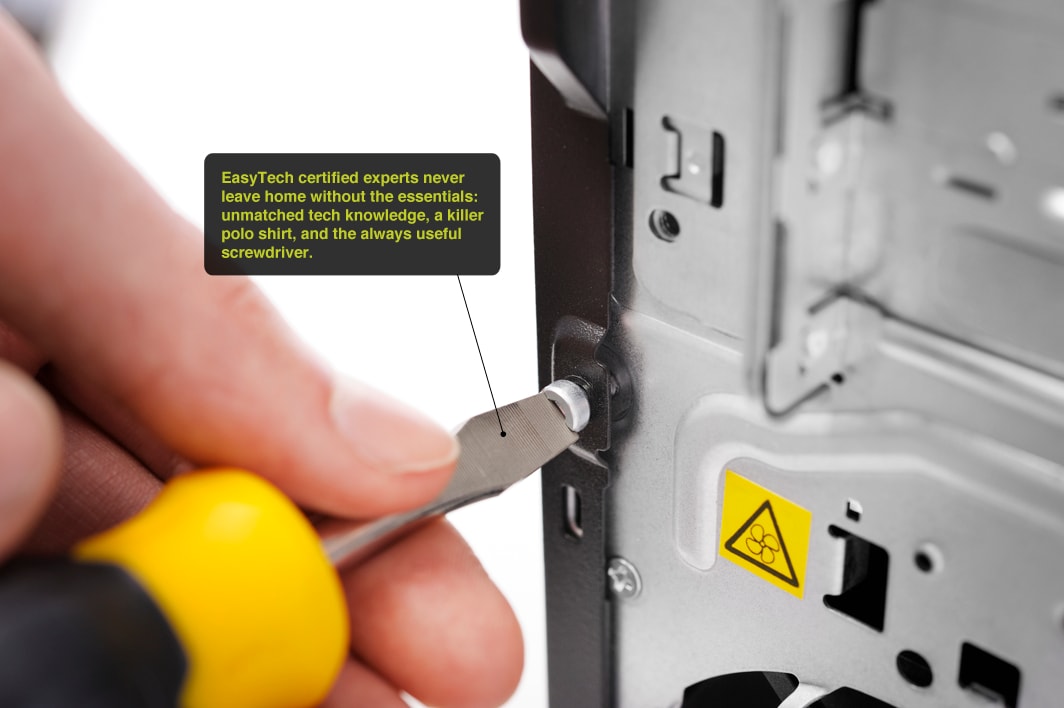
- Our tech expert, Shawn D., uses a Phillips screwdriver to remove a portion of the exterior expansion port housing. With a few simple twists, he'll be halfway to removing the multi-part cover.<br><div></div>
- With the single screw carefully removed, the top half of the expansion bay slides off and is put aside. The next step involves removing the second half of the cover, of which there are four pieces. We'll only need to remove one for this project.<br><div></div>
- Here's a close up up Shawn removing the second bay cover. You get a really great look at the other three slots. Ambitious PC users might use these slots to install additional cards in the future, should their performance needs increase again.<br><div></div>
- This is it. A new graphics card. Your card needs may vary, but since PC card design is pretty standard, we'll have no trouble installing the one that's right for your needs.<br><div></div>
- Shawn carefully lowers the card into place so the gold connectors (seen at the bottom) line up with the appropriate connectors on the PC. At the same time he's making sure the port seen on the lower left of the card is positioned so that it pokes out of the empty bay he opened up earlier in the demonstration.<br><div></div>
- Look familiar? It should! This is nearly the end. Shawn must re-assemble the PC's expansion bay housing so that the new drive is locked firmly in place. A few twists of that Phillips screwdriver is all it takes.<br><div></div>
- With the cover back in place the project is complete. If you look closely you can see the new card's port sticking out of the back of the PC near the center-bottom portion of this image. Your PC is enhanced, upgraded and ready to meet your higher performance needs.