Skip to main content
Skip to footer
Accessibility Commitment
An Eyeball-Friendly Look at PC Peripheral Installations
There are countless PC accessories available today, each with their own requirements. That may seem daunting, but as you can see here our tech associates are installation experts.

- The device we're working with for this peripheral installation service demo is a USB HD webcam. As with most USB devices, the install seems fairly straightforward (just plug it in, right?), but the truth is there are often special software instructions. Let's walk you through this one so you know what we'll do with your PC when you drop it off for service.
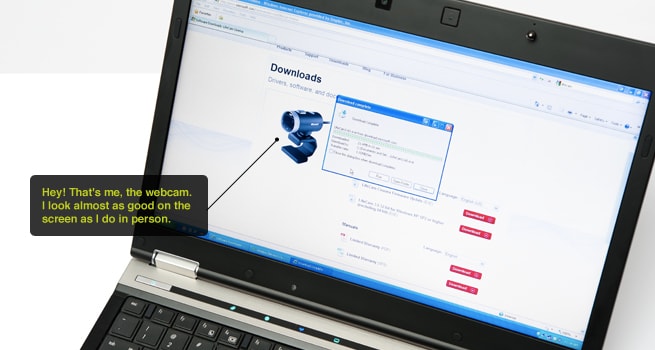
- Devices often have special software requirements that allow them to communicate with your PC. In this image Ryan downloads the software necessary to begin installation.
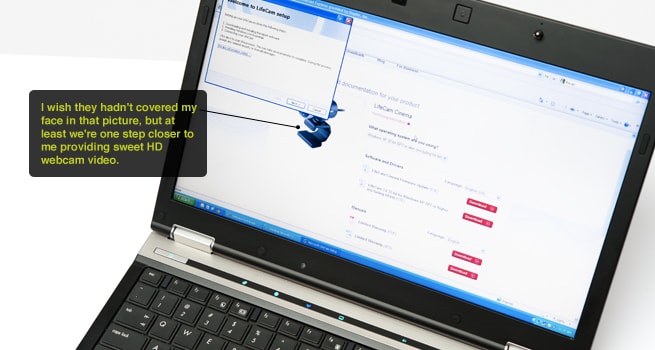
- Once the software is downloaded, our screen welcomes us to the official installation process. For this demo, we're using LifeCam software from Microsoft.
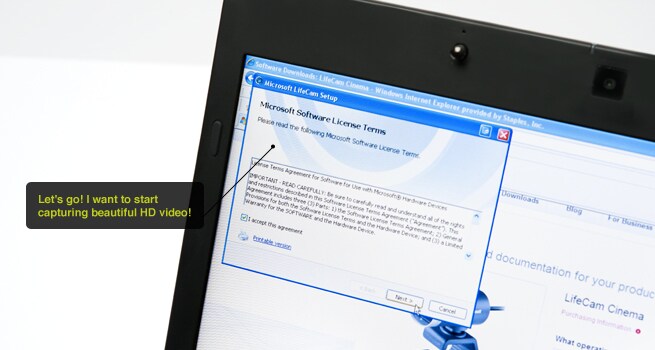
- The next step in the installation process involves accepting the Microsoft Software License Terms. Agreeing to the terms and clicking "Next" takes us one step closer to HD webcam conversations with friends and family members.
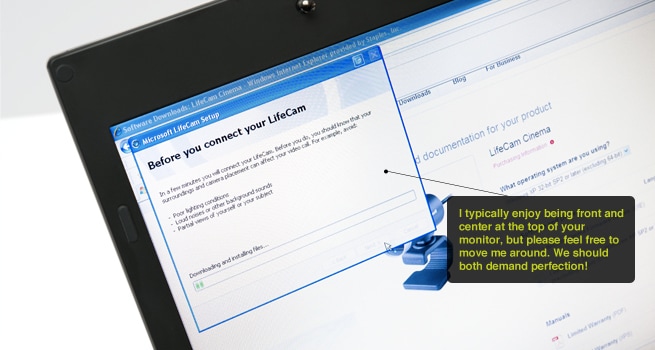
- In this image the LifeCam setup software explains that environmental factors, lighting and webcam placement can all have an effect on video quality. When the setup is complete feel free to move your webcam to find an optimal recording position.
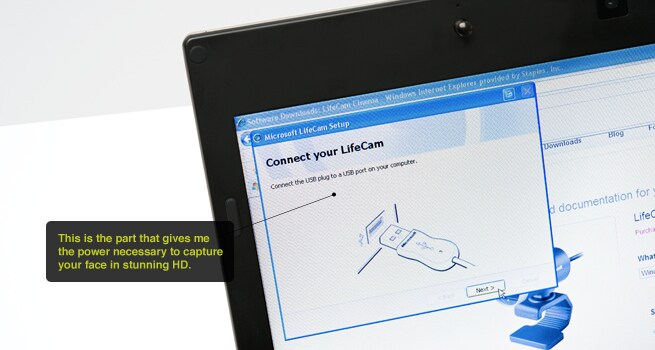
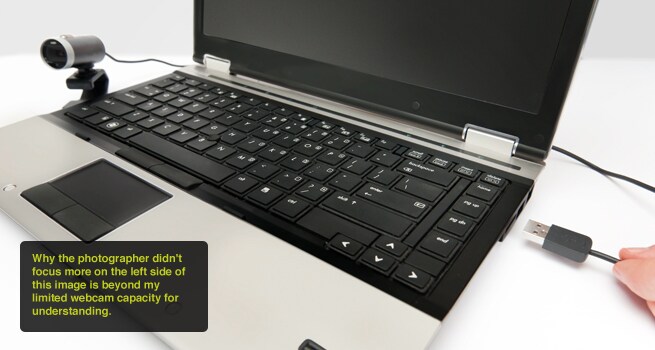
- At long last, we are ready to physically connect your new webcam to the PC. By far the simplest step in the process, all we need to do is take the webcam's USB cord and insert it into the USB port on your PC.
- This wide shot gives you an idea of what the USB cable, port and webcam look like when setup is complete. On the right you can see our installation expert, Ryan, preparing to place the USB cord into the PC.
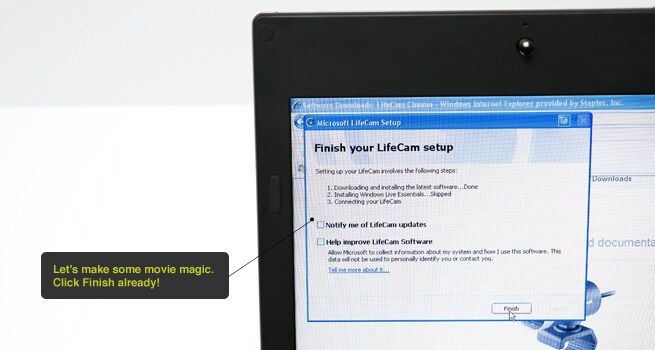
- After the webcam is plugged into the PC, the software recognizes the accessory and automatically prepares to finish the installation.
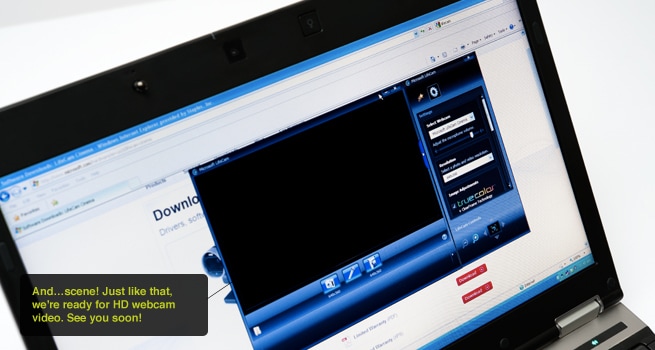
- When the webcam software launches for the first time, you'll see a screen like this one. The dark area is where you will see the person you're talking with during a video chat. Screen size, quality and other adjustment options are made available by clicking the gear image in the upper right area of the dark blue window.